Applying Mehndi is the crucial step where your preparation meets artistry. The way you apply the henna paste directly impacts the sharpness, color intensity, and longevity of your henna design. Here’s how to apply Mehndi during the process to ensure dark, crisp, and long-lasting stains.

1. Use the Right Henna Paste Consistency
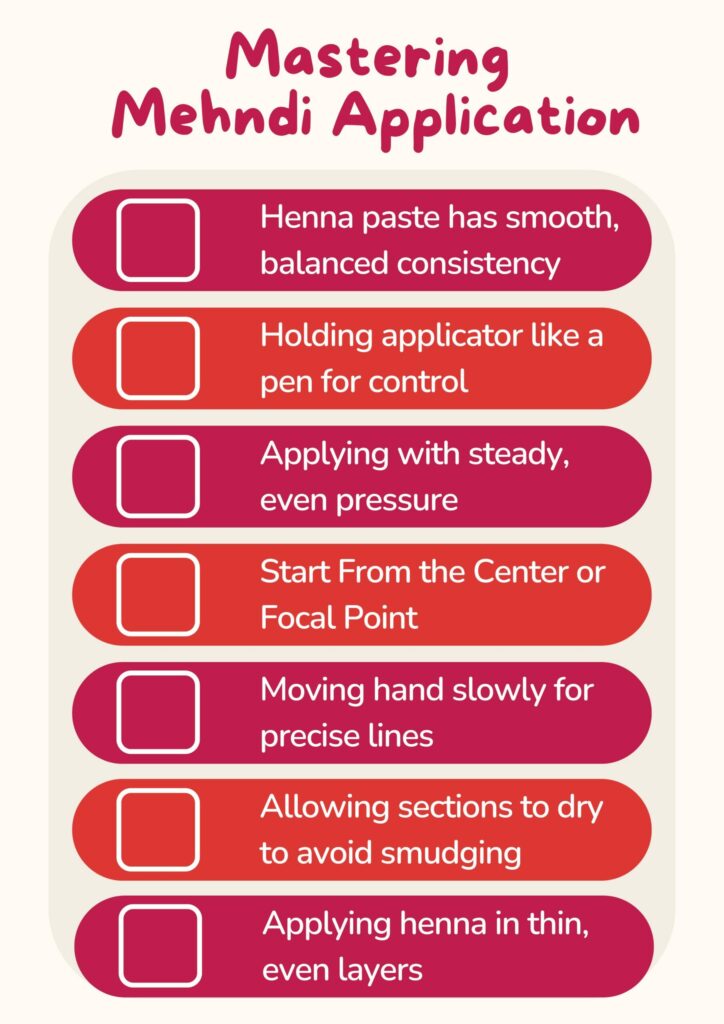
Your henna paste should be smooth and pliable — not too thick to clog the applicator, nor too runny to blur the design. This consistency allows clean, fine lines and detailed patterns.
2. Hold the Applicator Properly
Hold your henna cone or applicator like a pen for better control. Apply gentle, even pressure to produce smooth, continuous lines without breaks.
3. Steady and Controlled Hand Movements
Move your hand slowly and steadily to draw precise outlines. Avoid rushing — inconsistent pressure or speed causes uneven lines and blotches.
4. Start From the Center or Focal Point
Begin applying from the center of the henna design or the main focal point, then gradually move outward. This prevents smudging and keeps the pattern balanced.
5. Avoid Smudging by Letting Sections Dry
Let each section dry for a few minutes before moving on nearby. This minimizes the risk of accidentally smearing wet henna.
6. Keep Your Hands Relaxed and Still
A relaxed, steady hand helps maintain line accuracy. Avoid shaking or sudden movements during application.
7. Don’t Overapply or Layer Too Thickly
Apply henna in thin, even layers. Thick blobs dry unevenly and may crack or peel prematurely.
Applying Mehndi with care and the right techniques during the application process is essential for achieving sharp, detailed, and long-lasting designs. Mastering steady pressure, smooth movements, and mindful layering will make your henna artwork truly stand out.
To take your Mehndi experience even further and discover the best tips to make your stain darker and last longer, don’t miss our detailed ebook packed with expert advice and secrets.


