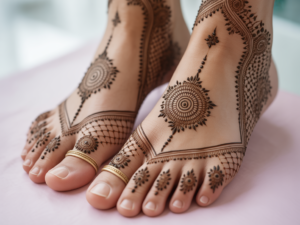
Whether you’re preparing for a festive occasion or just want to try something creative at home, mehndi (henna) is a beautiful, natural way to express yourself. This guide is made for total beginners — no art degree or steady hand required. Let’s dive in!
What You’ll Need
🧰Here’s what to gather before starting:
-
Henna powder (natural, body-art quality)
-
Lemon juice
-
Sugar
-
Essential oil (like eucalyptus or lavender)
-
Plastic sheet or ziplock bag
-
Scissors & tape
-
Plastic applicator cone or piping bag (or make your own!)
-
A clean surface or practice sheet
-
Tissue or cotton swabs for mistakes

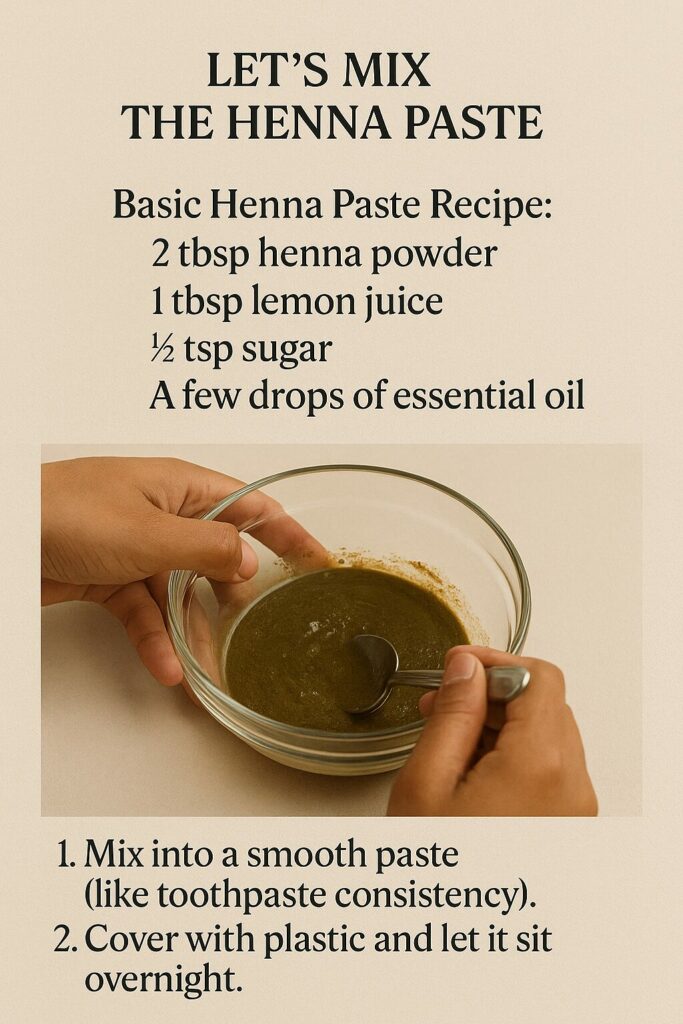
Let’s Mix the Henna Paste
🌀 You can also buy premade paste, but making your own gives better color and control.
Basic Henna Paste Recipe:
-
2 tbsp henna powder
-
1 tbsp lemon juice
-
½ tsp sugar
-
A few drops of essential oil
Instructions:
-
Mix into a smooth paste (like toothpaste consistency).
-
Cover with plastic and let it sit overnight.
-
Fill your cone and you’re ready!

Practice time
Step 1: Practice Your Grip
Hold the cone like a pencil, using your thumb and fingers to control pressure. Practice squeezing gently on paper or your palm.
🎯 Tip: Don’t press too hard — let the paste flow out naturally for clean lines.
Step 2: Start with Easy Patterns
✏️Begin simple before you go full bridal mode. Try:
-
Dots and lines
-
Spirals
-
Small flowers
-
Leaves and vines
Draw these on paper first, then on your hand or a practice surface. Repetition = confidence.
Some easy patterns that you can practice are:
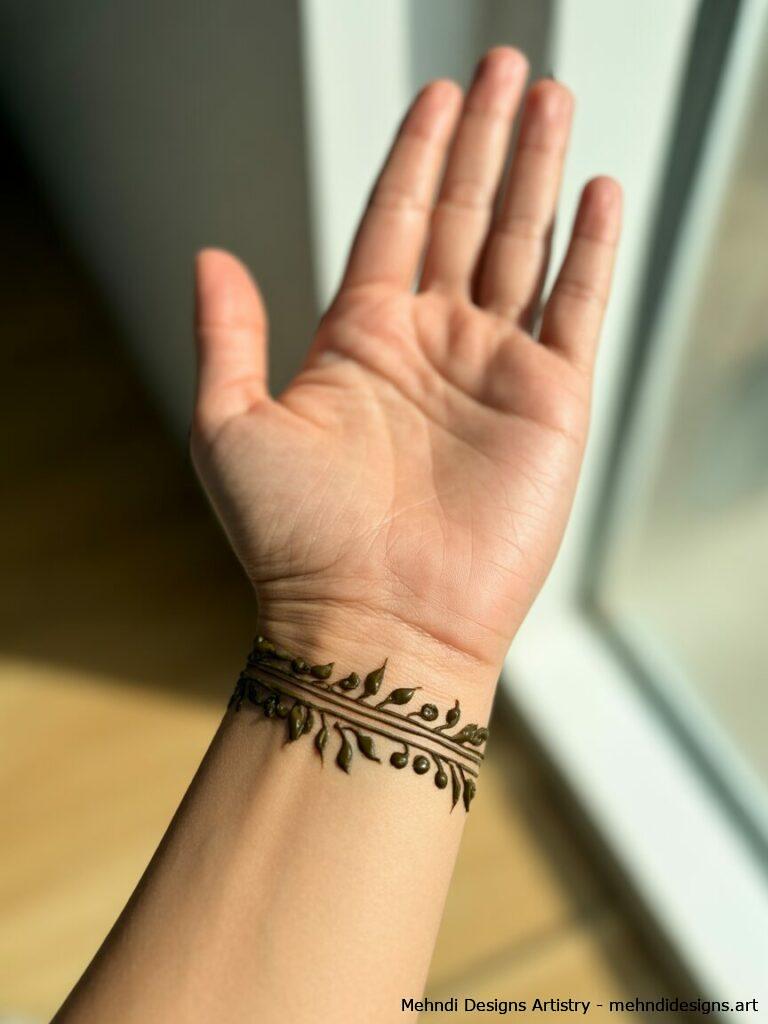
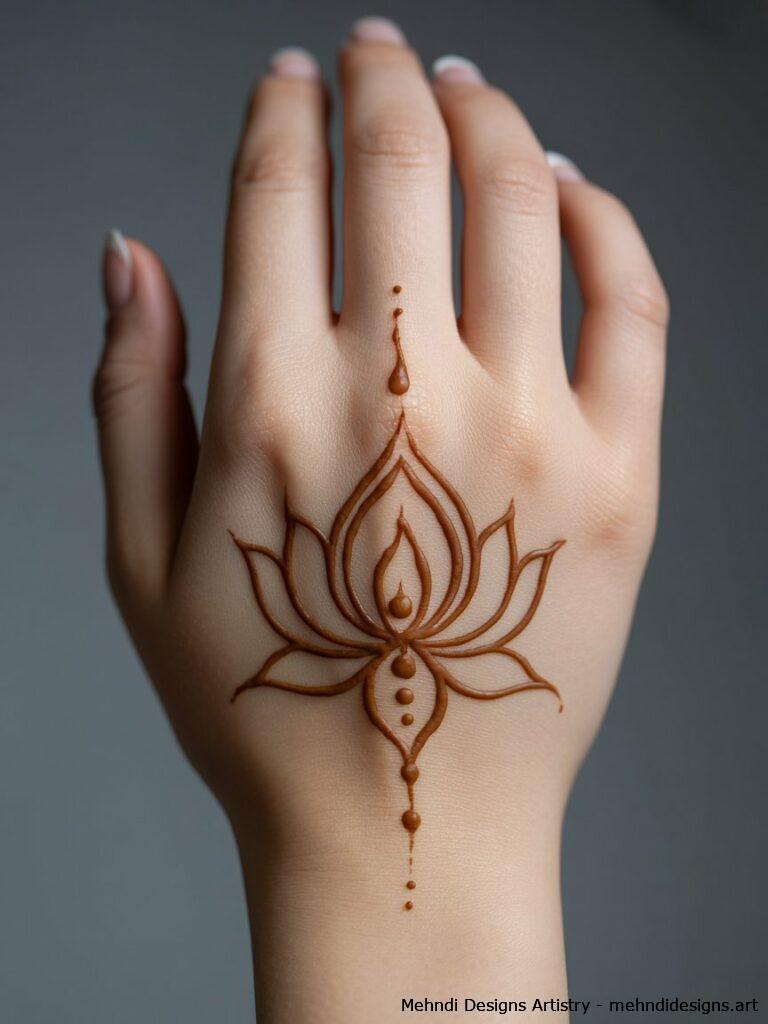
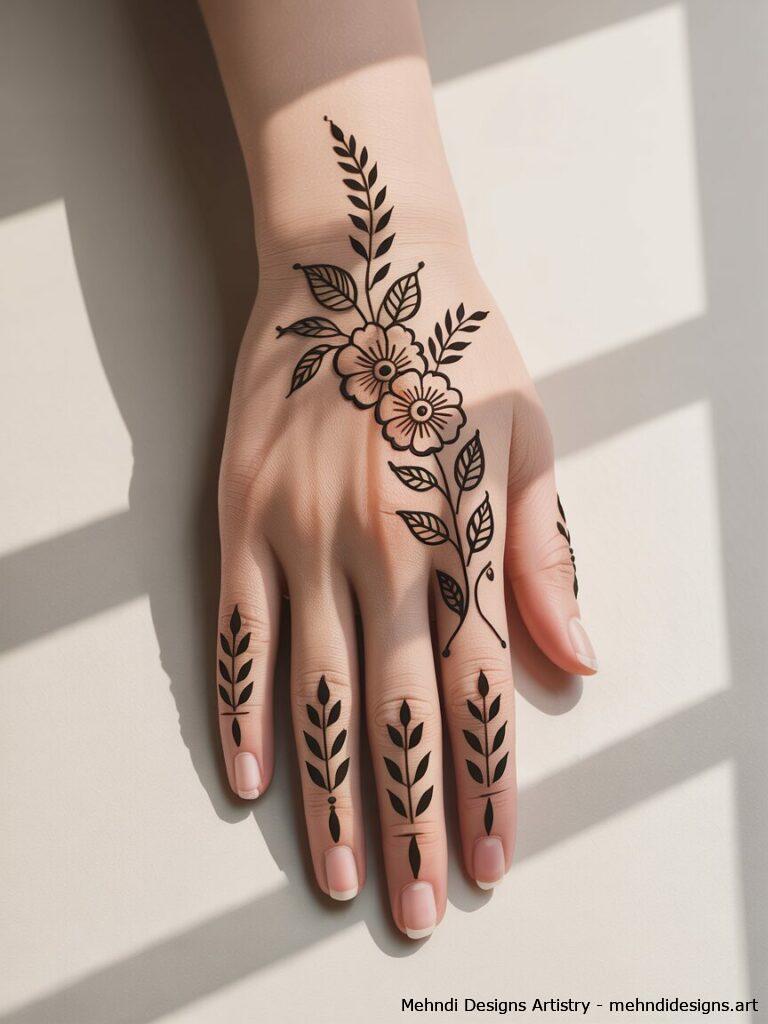
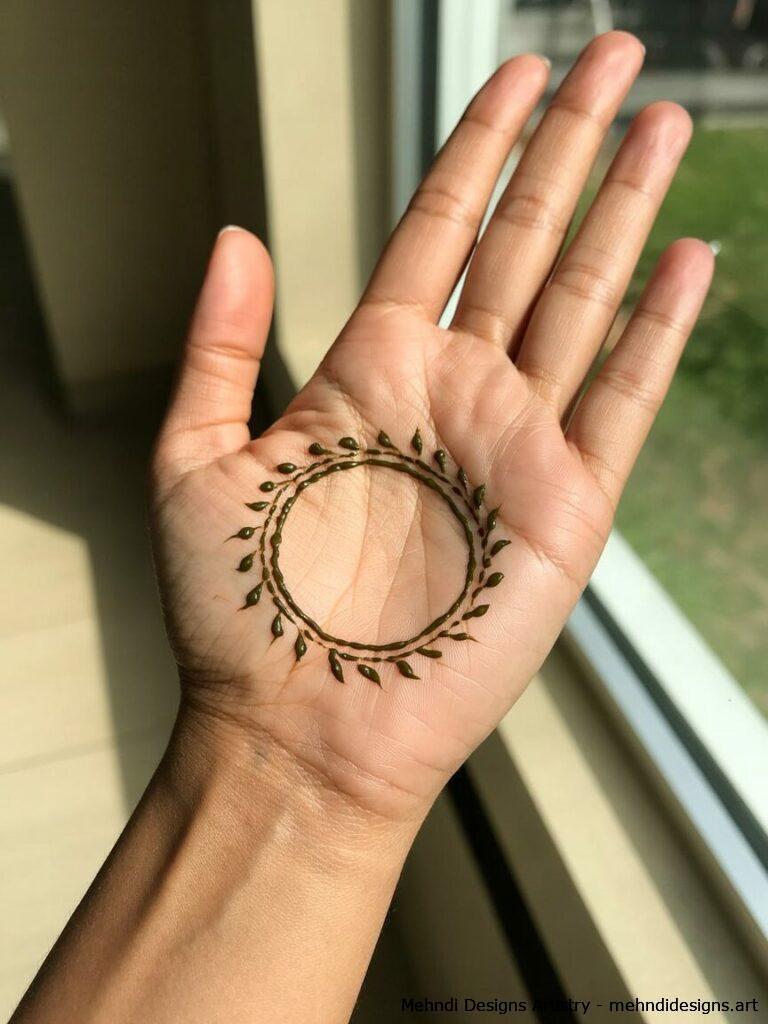
For more mehndi design idea, visit our latest mehndi designs
Step 3: Apply on Skin
🖐️ Now the fun part!
-
Clean your skin (no lotion).
-
Gently apply your design.
-
Don’t rush — take your time.
-
Use a toothpick or tissue to fix small mistakes.
🎯 Tip: Start with the back of your hand — it’s easier than palms or feet.
Step 4: Let It Dry Naturally
⏳ Let your design sit for 2–4 hours. The longer, the better.
-
Don’t smudge it!
-
Once dry, scrape off gently (don’t wash).
-
Avoid water for the next 12–24 hours.
The stain will darken over 1–2 days.
Extra Tips for First-Timers
-
Apply lemon-sugar mix to seal the paste and deepen color.
-
Always patch test if you have sensitive skin.
-
Store leftover paste in the freezer.
🎉 You Did It!
Applying mehndi at home doesn’t have to be intimidating. With a little patience and practice, you’ll be making your own stunning designs in no time.
Keep experimenting, and don’t worry about being perfect — that’s the beauty of mehndi!
